Painting over wallpaper can be an appealing shortcut — skip the tedious removal step and freshen a room quickly. But doing it properly requires care, prep, and technique. When done right, painting over wallpaper can yield a smooth, durable finish. Do it poorly, and you may end up with bubbling, peeling, or exposed seams.
In this article, I’ll walk you through why, when, and how to paint over wallpaper, step by step, and point out things to watch out for. I’ll also touch on how this ties into broader considerations like interior vs exterior painting or how weather (on outdoor projects) impacts paint longevity, as discussed in other resources.
Why Consider Painting Over Wallpaper?
Before getting into the how, let’s ask: why would someone even want to paint over wallpaper?
- Time and effort saved — Removing wallpaper, especially old or stubborn types, can be laborious, messy, and time-consuming. If the wallpaper is firmly adhered and in good condition, painting over can be a faster solution.
- Cost-effective upgrade — A fresh coat of paint might freshen up the space without needing a full re-wall finish.
- Design flexibility — You can modernize a room’s look while preserving the underlying wall structure (if removal would damage drywall).
- Interim solution — Sometimes, painting over wallpaper is a temporary solution until a full renovation is possible.
However, it’s not always the right choice. If the wallpaper is peeling, has loose edges, or is extremely textured (deep patterns), removal is typically safer. Also, keep in mind that surface preparation is more stringent when you paint over wallpaper than when painting bare drywall or plaster.
When Is It Possible / Advisable?
You can consider painting over wallpaper when:
- The wallpaper is well adhered (no loose edges, seams hammering up)
- The surface is fairly smooth or has only light texture
- The wallpaper is vinyl-coated or washable type (these take paint better)
- The wall underneath is structurally sound (no mold, no water damage)
You should not paint over wallpaper when:
- It’s peeling or bubbling
- Edges are lifting
- It has heavy texture or 3D embossing
- The wall underneath is damaged or moldy
- The wallpaper substrate is unsuitable (very loose paper, fragile backing)
Tools & Materials You’ll Need
Here’s a checklist of tools and materials:
| Item | Purpose / Notes |
| Utility knife / blade | To score paper at seams or cut away damaged edges |
| Sandpaper (fine grit, e.g. 120–220) | To lightly scuff surfaces and remove gloss |
| Joint compound / spackle | To fill minor seams, imperfections |
| Putty knife | For applying spackle |
| Primer (bonding or shellac-based) | Key for adhesion on non-porous surfaces |
| Paint (interior latex or acrylic) | Your chosen finish color / sheen |
| Roller / brush / pad | For paint application |
| Masking tape, drop cloths, plastic sheeting | To protect trim, floors, furnishings |
| Caulk / sealant | To seal edges, trim, baseboards |
| Cleaner / degreaser | To clean the surface before priming |
Step-by-Step: How to Paint Over Wallpaper
Below is a detailed procedural guide — follow each step for the best result:
1. Inspect the Wallpaper Thoroughly
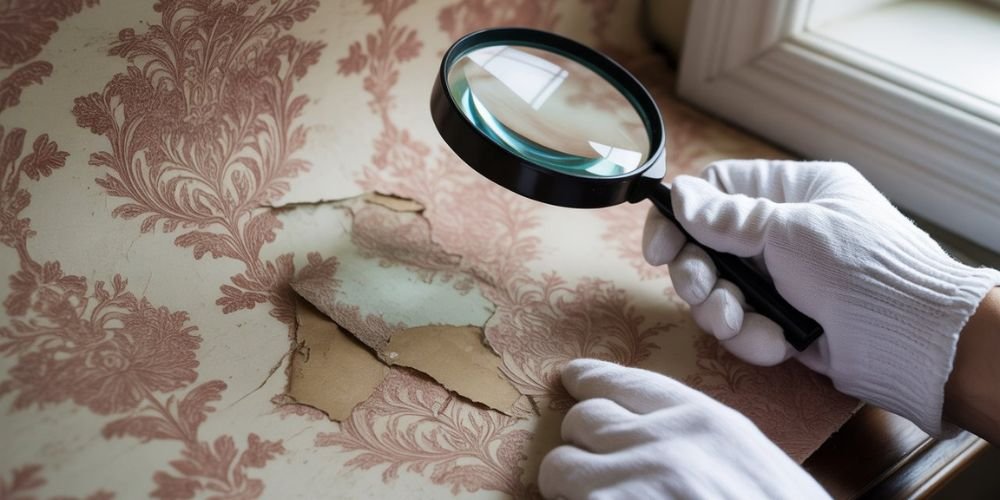
Check all seams, edges, corners, and any areas with bubbling or lifting. Use a utility knife to press seams flat, or gently re-stick loose edges with wallpaper adhesive (if minimal). If too many areas are failing, reconsider removal.
2. Clean the Surface
Dust, grime, grease, and residue will interfere with adhesion. Wash the wallpaper surface using a mild detergent solution or trisodium phosphate (TSP) diluted, then rinse clean. Let fully dry.
3. Lightly Scuff / Sand
Use fine-grit sandpaper to dull any glossy finish. The goal is to create a “tooth” for primer to grip. Be gentle so as not to damage the paper.
4. Fill Seams and Imperfections
Use joint compound or spackle to fill seams, nail holes, dents, or minor irregularities. Feather the edges so transitions are smooth. Let it dry, then lightly sand flush.
5. Tape Off & Protect Adjacent Surfaces
Mask trim, moldings, and adjacent walls or ceilings. Lay drop cloths. Be tidy — mistakes here can show.
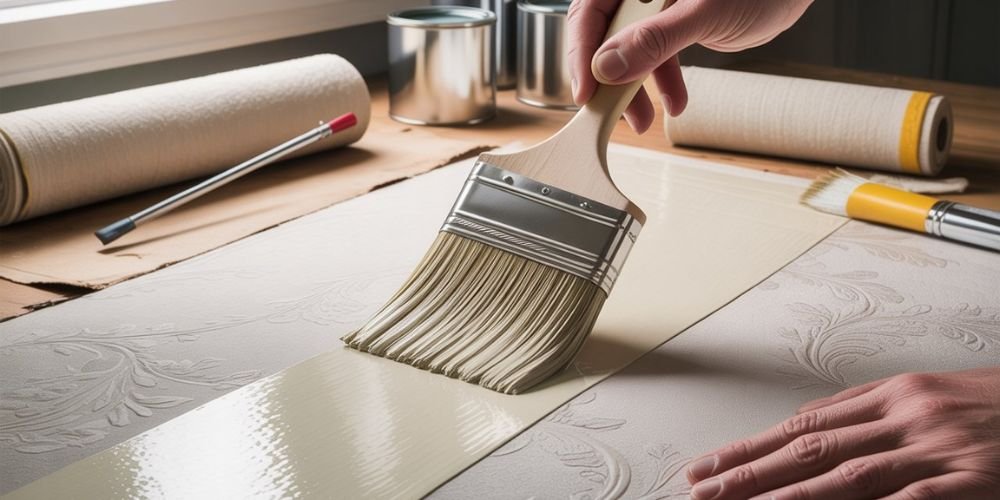
6. Prime with Bonding Primer or Shellac-Based Primer
This is the critical step. Use a high-quality, adhesion-promoting primer formulated for difficult surfaces or glossy substrates. Do one coat first. Let it cure fully (per manufacturer instructions).
7. Inspect After Primer
Check for imperfections or areas where the wallpaper might still pull or lift after priming. Make touch-ups (fill, sand, re-prime) where needed.
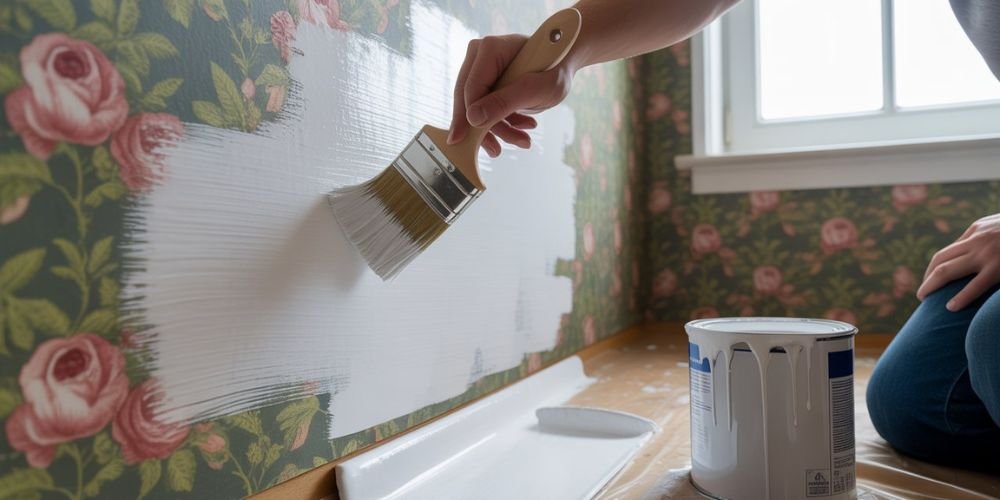
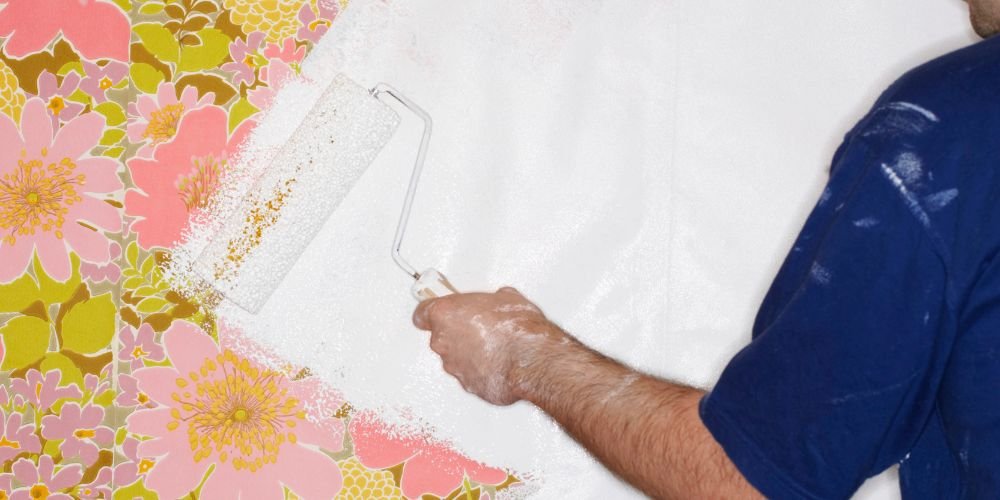
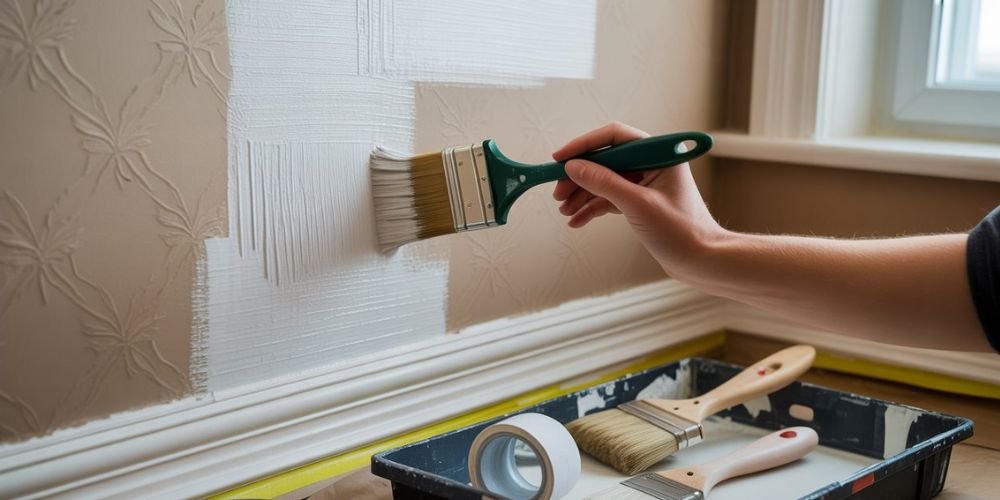
8. Apply Paint in Thin Even Coats
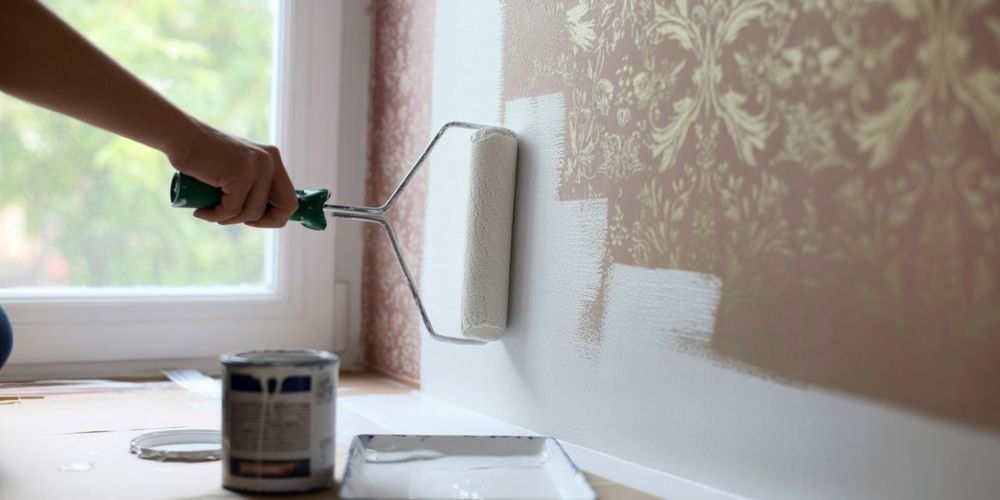
Once primer is fully cured, apply your topcoat(s). Use a roller for broad areas and a brush for edges. Two coats are typical for full coverage. Allow proper drying time between coats.
9. Final Touches: Caulk, Trim, Clean Up
Caulk trim edges, touch up trim paint, remove masking tape, and clean up. Let the paint cure for several days before placing furniture or heavy wear.
Also read, How Does Weather in San Antonio Affect Exterior House Paint?
Tips, Caveats, and Best Practices
- Test patch: Always try a small, inconspicuous section first to confirm adhesion and visual result.
- Flat or eggshell is safer: High-gloss paints highlight defects more easily over wallpaper; lower-sheen paints hide minor issues better.
- Humidity & flexibility: Painted wallpaper tends to be less forgiving to movement and moisture — avoid painting in high humidity or if the wallpaper backing is too brittle.
- Edge sealing: Seal seams and edges (top, baseboards) to avoid peeling from moisture infiltration.
- Expect limitations: You may still see very faint seams or patterns after painting, especially on textured wallpapers.
Why This Matters in the Larger Painting Context
The considerations above echo some of the broader principles that govern all painting projects — interior and exterior — and surface preparedness. For instance:
- In discussions comparing interior vs exterior painting, the importance of substrate prep and surface conditions is a recurring theme. Interior painting typically has fewer environmental challenges (moisture, UV, temperature swings), but the same principle holds: good prep = better results.
- Similarly, when considering how weather affects exterior paint, one realizes that exterior surfaces endure harsher elements (sun, moisture, temperature shifts). Painting over exterior wallpaper (rare though it may be) would require extremely robust primers and paint systems to survive.
- And in the broader home painting guide context, planning, repair, re-coating, and selecting appropriate products are essential regardless of whether you are painting walls, ceilings, or exteriors. The wallpaper-over-paint scenario is simply one variant in that spectrum.
Thus, the wallpaper approach must be integrated into a holistic view: surface prep, environmental conditions, product compatibility, and long-term durability.
When You Should Remove Wallpaper Instead
If any of the following conditions apply, removal is generally safer:
- Wallpaper is severely damaged, peeling aggressively, or bubbled.
- The pattern or texture is too deep to conceal.
- The wallpaper is old and brittle, prone to tearing during painting.
- You aim for a flawless, seamless finish (as with premium paint jobs).
- There is mold, odor, or moisture issues behind the wallpaper.
Removal methods include steaming, scoring and softening, chemical strippers, or complete re-wall refinishing — which takes more effort but gives you a clean base.
Summary & Final Thoughts
At AHC Painting and Remodeling, we know painting over wallpaper can be a smart shortcut, if the wallpaper is in good condition and properly prepped. The key is simple: clean thoroughly, smooth seams, use a quality primer, and apply durable paint with care.
Done right, it delivers a fresh, updated look without the mess of removal. Just keep expectations realistic, some faint seams or textures may remain, but the result is a clean, renewed finish backed by expert craftsmanship.